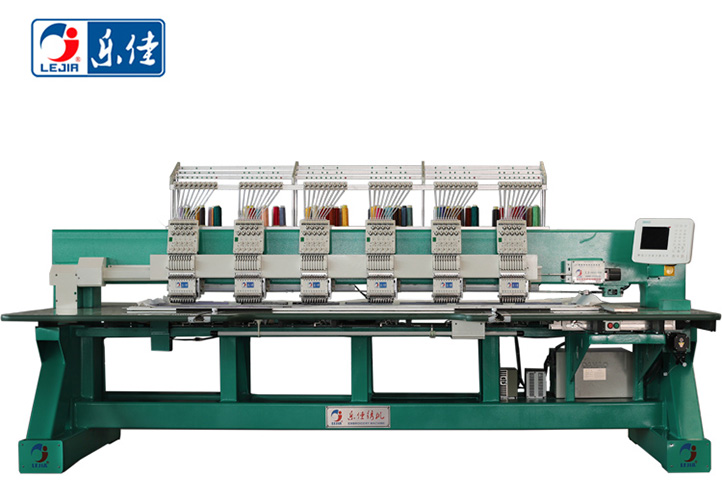
Summary:Embroidery business:Computer embroidery pattern making refers to the installation of pattern making software from the co...
Embroidery business:
Computer embroidery pattern making refers to the installation of pattern making software from the computer, after designing and making the pattern, it is sent to the embroidery machine for production through a floppy disk or a U disk. Because of its beautiful design, durability and low cost, it is welcomed by people from all walks of life. It is not only used in the clothing industry, but also widely used in shoes, hats, backpacks, bedding, curtains and so on. Embroidery taping is also known as embroidery plate making, embroidery punching, embroidery card making, embroidery plate making, etc. The sayings in different regions of the country are also different.

18 precautions for
computer embroidery pattern making:
1. The printing color sequence is arranged in the corresponding order of the software (such as: 1. Green, 2. Blue, 3. Red), so as to facilitate the checking of the version.
2. The position of the needle starting point; the circle is right above, the square is at the upper right corner, and the irregular shape is at the top.
3. For products with hemming, the outer ring should overlap a single needle to avoid needle drop.
4. If you need to dig a large area, you should dig it out, and you should pay attention to the position of the starting point and the ending point, and try to reduce the default single needle at the bottom.
5. Do not use it unless it is necessary.
6. Connect to the nearest point, and try to connect as much as possible on the sidelines.
7. Pay attention to the embroidery direction, and use different embroidery directions to reflect the three-dimensional sense of the armband.
8. The color sequence is as simple as possible.
9. Unnecessary, do not put needles.
10. For wrapping needles and other objects, one stitch will protrude outward at the front and back, and one stitch will be retracted inward on both sides. Therefore, when making a pattern, one stitch should be retracted inward at the front and back and a retraction compensation should be added on both sides. .
11. The start and end points of the bag needle and it should take the longest needle (the short pair is used to start the needle).
12. If you can draw an auxiliary line when typing a line, you should draw an auxiliary line as much as possible.
13. Those who can use a needle when typing should use a needle as much as possible.
14. If there are customers as they are, they should be as original as possible. (Except for those specified by the customer to be changed).
15. The same direction will eat each other, the needle should be blocked, and the distance between the blocking needle and the object to be blocked should be 0.3-0.4MM; the place where the opposite direction will be pulled apart should be cushioned, and the cushion should be a single needle, with a density of 1.0-1.2MM.
16. Try to avoid right-angle anisotropy, and complete isochromatic overlap.
17. The overlap between objects is 1.0MM.
18. Pay attention to the distance between the front and rear objects, and avoid stitches less than 0.9MM.


